

Key Takeaways
- Most walls contain wood or metal studs spaced 16 or 24 inches apart on center.
- Electrical wiring, plumbing, and HVAC ducts commonly run through interior walls.
- A stud finder is a low-cost tool that reduces drilling risk significantly.
- Exterior walls and walls adjacent to kitchens and bathrooms carry the highest risk.
- When in doubt about what a wall contains, consulting a licensed contractor is the safest path.
What's Inside Your Walls
Residential walls are not hollow cavities. Behind the drywall or plaster surface, most walls contain a wood or metal framing structure, along with some combination of electrical wiring, plumbing pipes, and HVAC ducts. The exact contents depend on where in the home the wall is located and what systems run through it.
In older homes, walls may also contain knob-and-tube wiring, cast iron pipes, or dense plaster over metal lath — materials that behave differently than modern construction and may require extra caution.
Why This Matters More Than Most People Expect
Hanging a picture or mounting a shelf seems simple — until you hear a hiss of escaping air, a crackle of sparks, or notice a spreading water stain. Puncturing a pipe or nicking an electrical wire while drilling is more common than most people realize, and the repairs that follow are almost always expensive.
Understanding what's typically behind your walls before you pick up a drill is basic home literacy. It's the kind of knowledge that protects your security deposit, your home's systems, and your safety. If you're building your DIY repair skills, this is a foundational topic worth getting right first.
The Typical Anatomy of a Wall
Most interior walls in U.S. homes share a similar basic structure. A surface layer — almost always drywall in construction from the 1950s onward, or plaster in older homes — is attached to a frame of vertical boards called studs. Studs are typically made of dimensional lumber (usually 2x4 or 2x6) and are spaced either 16 or 24 inches apart, measured from the center of one stud to the center of the next.
Inside that framing, walls carry three main types of systems:
- Electrical wiring: Cables run vertically from outlets and switches up through the wall cavity, and horizontally between fixtures. They're usually stapled to studs or threaded through drilled holes in framing members.
- Plumbing pipes: Water supply lines and drain pipes run through walls, especially those adjacent to kitchens, bathrooms, and laundry rooms. Supply lines are typically copper, PEX, or CPVC; drains are usually PVC or, in older homes, cast iron.
- HVAC ducts: Forced-air heating and cooling ducts sometimes run through wall cavities, particularly in two-story homes where ducts serve upper floors.
16"
Standard stud spacing in most U.S. homes
Most homes built to standard U.S. residential construction codes place wall studs 16 inches apart on center, though 24-inch spacing is also permitted under many codes.
~1.5"
Typical drywall depth before wall cavity
Standard half-inch drywall sits over a framing system, meaning you reach the open wall cavity — and any wiring or pipes inside — within just a couple of inches of drilling depth.
Exterior walls add another layer: insulation, and sometimes a vapor barrier. They're also more likely to contain larger structural elements.
Where the Risk Is Highest
Not every wall carries the same risk. Some general patterns can help you assess a wall before you drill:
- Walls shared with a bathroom or kitchen are very likely to contain plumbing. The wall directly behind a toilet, sink, or tub almost certainly does.
- Walls with outlets or switches have wiring running to and from those devices. Cables typically travel vertically from the outlet box up to a junction point.
- Exterior walls may contain more structural framing and insulation, and in some climates, hidden vapor barriers or rigid foam that can interfere with anchors.
- Walls above or below a floor with plumbing may carry vertical pipe runs connecting systems on different levels.
Interior walls in hallways or bedrooms that are far from any plumbing fixtures carry the lowest risk — but electrical wiring can run almost anywhere.
Check Your Outlet Placement as a Clue
Electrical outlets give you a useful reference point. Wiring typically runs vertically from outlet boxes up toward the ceiling, and horizontally along top or bottom plates. Avoid drilling directly above or below any outlet or switch on the same wall. As a general rule, treat a 6-inch radius around any electrical box as a caution zone until you've verified the wiring path.
Tools That Help You See What You Can't See
You don't need sophisticated equipment to avoid most hazards. A few practical tools cover the majority of situations:
- Stud finder
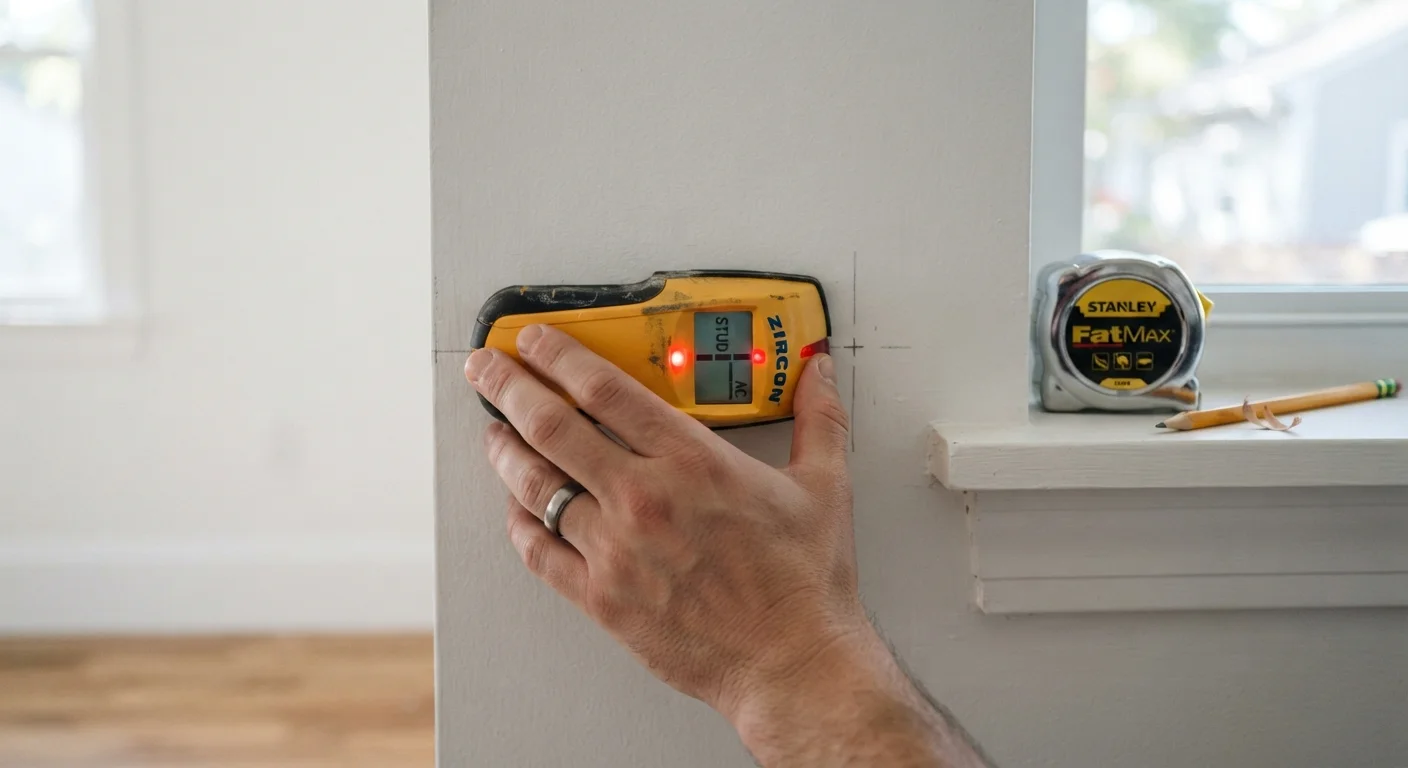
- An electronic stud finder detects density changes behind drywall to locate stud edges. Basic models cost very little and are widely available. Some higher-end versions include modes for detecting live AC wiring or pipes. They work best on standard drywall; plaster walls can be trickier.
- Rare-earth magnet
- A strong magnet can locate the drywall screws or nails used to attach drywall to studs — a low-tech alternative that works reliably on standard construction.
- Voltage detector (non-contact)
- A non-contact voltage tester held near a wall can detect live electrical current without touching any wire. It's a useful safety check before drilling near outlets or switches.
For walls where the stakes are higher — load-bearing walls, or any wall where you suspect plumbing — the most reliable option is to consult a licensed contractor. It's worth the cost of a short consultation to avoid a much larger repair bill. This connects to a broader point about recognizing when home problems are bigger than they appear.
“The two minutes it takes to locate a stud or run a voltage check are almost always faster than the time it takes to explain to a client why a simple shelf job turned into a plumbing repair.”
— General Contractor, residential construction industry, Licensed general contractor with over 20 years in residential construction
Practical Steps Before You Drill
Once you understand what might be in a wall, a simple pre-drilling routine becomes second nature:
- Identify the wall type: interior or exterior, adjacent to plumbing, or near electrical fixtures.
- Use a stud finder to map the stud locations and mark them lightly with a pencil.
- If you need to drill between studs, use a non-contact voltage tester first.
- Start with the smallest drill bit practical for your anchor or fastener. A small pilot hole lets you stop and assess if you hit something unexpected before the damage gets larger.
- Drill slowly and stop immediately if you feel unexpected resistance, hear something, or see discoloration on the bit tip.
If you're planning to use wall space more extensively — for shelving systems or wall-mounted storage — it helps to think through the whole wall surface in advance. Our guide to making the most of vertical space walks through that planning process. And if a previous drill attempt left a hole that needs fixing, knowing when a patch is enough can save you time and money.
This article is for general educational purposes only. For work involving electrical systems, plumbing, or structural elements, consult a licensed professional and verify local permit requirements with your building department.