

Key Takeaways
- Nail holes and small dents are almost always safe DIY fills that cost very little.
- Cracks wider than a hairline, or that return after repair, may signal settling or moisture issues.
- Water stains should never be painted over until the source of moisture is found and fixed.
- Soft, crumbling, or bulging drywall usually means the board needs to be cut out and replaced.
- Some wall damage — especially near electrical panels or load-bearing areas — warrants a professional inspection.
Wall Damage Assessment
Wall damage assessment is the process of identifying what caused a wall problem — and how deep it goes — before deciding how to fix it. Not all wall damage is created equal: a nail hole calls for a five-minute fill, while a recurring crack or soft spot may point to something structural or moisture-related. Getting this read right saves both money and headaches.
Drywall and plaster behave differently under stress and moisture, so the right repair method depends partly on which material your walls are made of. Plaster walls — common in homes built before the 1950s — are denser and may require a different patching compound than modern drywall.
Reading the Wall Before You Reach for Spackle
The first step in any wall repair isn't picking up a tool — it's figuring out what you're actually dealing with. Wall problems fall into a few broad categories: cosmetic surface damage, isolated structural damage to the drywall or plaster itself, and symptoms of a bigger underlying issue like moisture or settling. Each one has a different fix, and mixing them up wastes time and money.
Surface damage includes nail holes, small dents, minor scratches, and hairline cracks that don't move or widen over time. These are almost universally DIY-friendly. A pre-mixed lightweight spackling compound handles most of them in under an hour. Sand smooth when dry, prime, touch up with paint — done.
Before you start, it's worth knowing what's behind your walls. Understanding what's inside your walls matters especially when damage is near an outlet, plumbing fixture, or exterior-facing surface.
Test Before You Fill
Before applying any compound, press gently around the damaged area. If the wall feels soft, spongy, or moves under pressure, there's likely more going on beneath the surface. A solid, firm wall around the damage is a good sign that a straightforward fill or patch will hold.
When Patching Is the Right Call
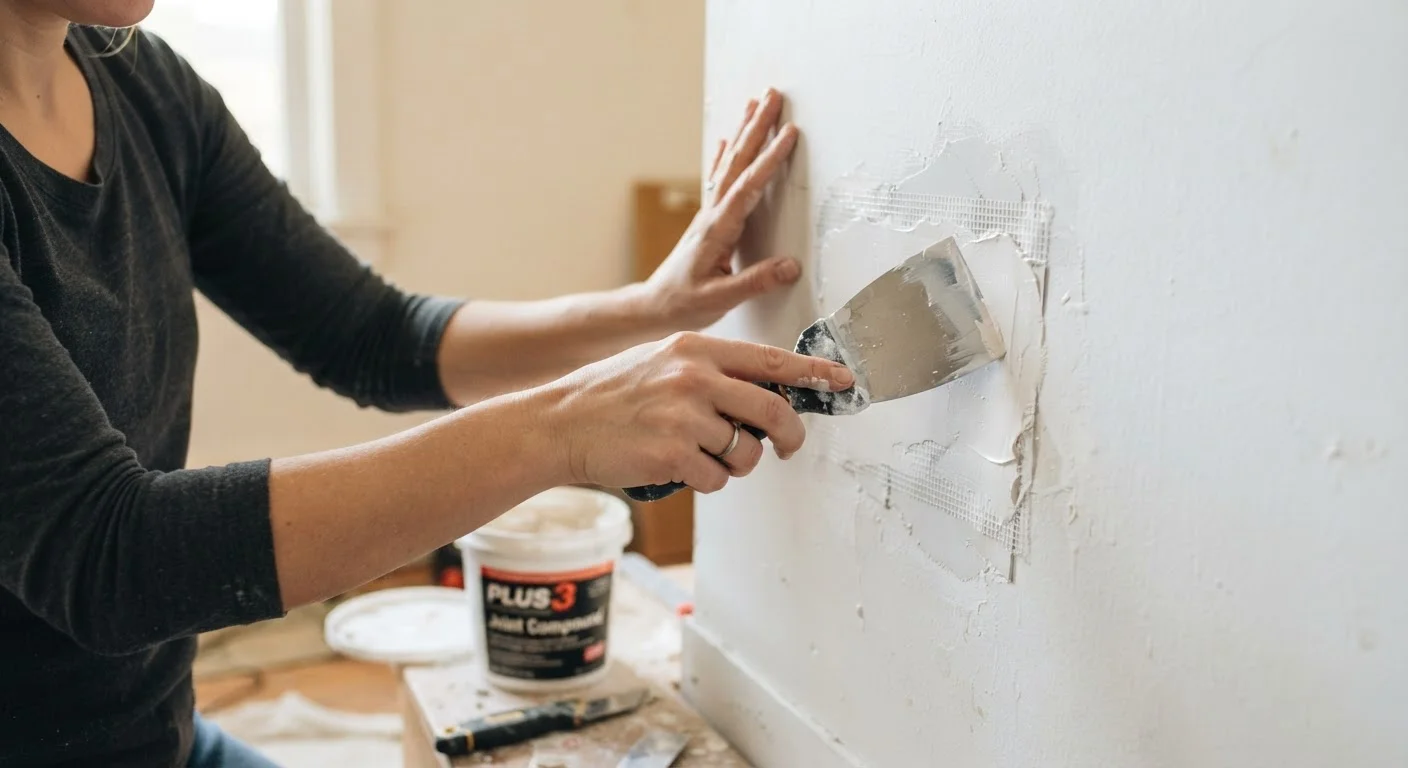
Patching — cutting out and replacing a section of drywall — makes sense when the damage is too large to fill but doesn't involve an underlying problem. Think: a doorknob punched through the wall, a bracket pulled out of the board, or a hole left from an old cable or pipe. The material itself is fine everywhere else; you just have a gap to close.
Patches up to about six inches square are approachable for most people. Larger patches require securing a backing board or new drywall section, taping the seams, applying joint compound in multiple coats, and feathering the edges — a process that takes patience and some practice to finish invisibly. If smooth walls matter to you and you've never taped drywall before, this is a reasonable place to hire a handyperson.
~⅓
Security deposit deductions tied to wall damage
Industry surveys from property management associations consistently find wall damage among the top reasons landlords make deductions from security deposits.
6 inches
Approximate DIY patch size limit for most homeowners
Home repair guides generally place the practical limit for confident amateur drywall patching at around six inches before finishing quality becomes noticeably harder to achieve.
Renters especially benefit from knowing these basics. Core DIY repair skills can protect your security deposit and keep you from paying for damage that was already there.
When the Wall Needs More Than a Fix
Some wall problems aren't really wall problems — they're symptoms. A crack that runs diagonally from a door corner, reappears after repair, or is accompanied by sticking doors or uneven floors deserves a closer look before you patch it. These patterns can signal foundation settling or movement, and cosmetic fixes will just mask the issue temporarily.
Water damage is the other big one. A brownish stain, soft or crumbling drywall, bubbling paint, or a musty smell near a wall almost always means moisture got in somewhere — a slow leak, condensation, or a roof issue. Painting over the stain won't fix it. If the drywall has gone soft or has visible mold growth, that section of board needs to come out entirely. Mold remediation in particular should be handled carefully; extensive mold is a job for a professional, not a DIY scrub-down.
Similarly, recurring caulk failures around windows and trim can let moisture into wall cavities over time — a slow problem that shows up as wall damage later. Fixing the entry point is always step one.
Plaster Walls Behave Differently
If your home has plaster walls rather than drywall, some standard drywall repair products may not adhere or dry the same way. Plaster also tends to crack in distinctive patterns as it ages — many of which are cosmetic rather than structural. If you're unsure which material you're working with, a local hardware store associate can often help you identify it and choose the right product.
A Quick Decision Framework
If you're standing in front of a damaged wall and unsure what to do, run through these questions:
- Is the wall surface hard and solid everywhere around the damage? If yes, you're likely dealing with cosmetic or isolated physical damage — a good candidate for fill or patch.
- Is there any discoloration, softness, or odor? Stop and investigate moisture before doing anything else.
- Has this crack or damage appeared before or come back after repair? That's a signal to look deeper, not just refill.
- Is the damage near electrical wiring, plumbing, or an exterior wall? Proceed carefully and consider whether a professional assessment is warranted.
Most everyday wall damage — nail holes, small dents, stable hairline cracks — is genuinely within reach for anyone willing to take a bit of care. Deciding between DIY and calling a tradesperson comes down to the size of the job, the risk involved, and your own comfort level. Neither choice is wrong when it fits the situation.