

Key Takeaways
- Start with a conversation about needs before rearranging a single piece of furniture.
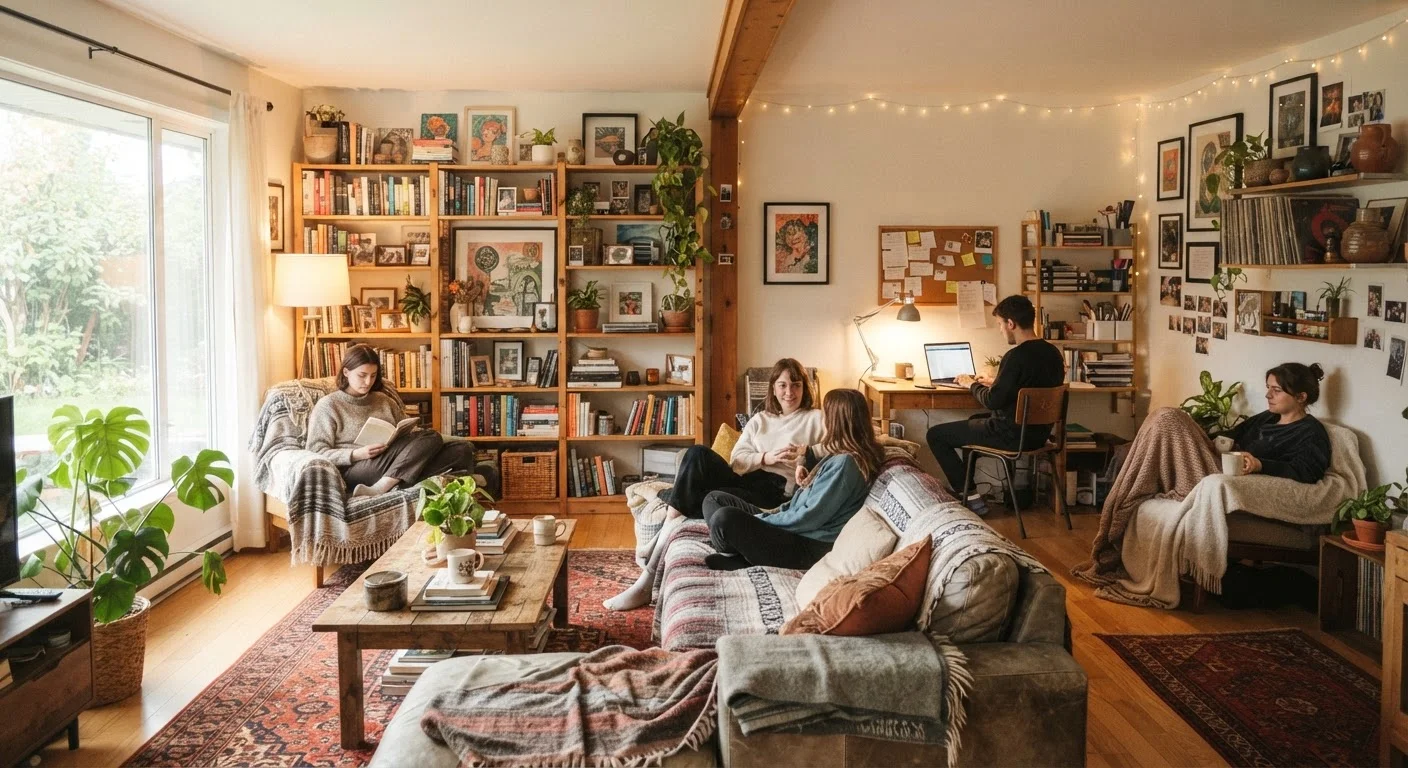
- Defined zones reduce daily friction without requiring physical walls.
- Flexible storage and multifunction furniture stretch a shared space further.
- Shared visual style rules — not identical taste — keep a space feeling cohesive.
- Small, low-cost changes to light, colour, and layout can meaningfully improve comfort.
What you will need
Why Shared Spaces Break Down (and How to Fix That)
Most shared living conflicts aren't really about taste — they're about competing needs using the same square footage at the same time. One person needs a quiet corner to work; another wants the TV on. A teenager's stuff creeps into the family room; a partner's home-office equipment takes over the dining table. These aren't personality problems. They're layout problems, and layout problems have practical solutions.
Before moving anything, it helps to understand what each person actually needs from the space — not just what they currently do there, but what they wish they could do. A quick conversation (or even a shared note) asking "what frustrates you most about this room?" surfaces friction you might not have noticed. That insight shapes every decision that follows.
For a deeper look at how visual factors affect how spacious a room feels, this guide to why small rooms feel cramped is worth reading alongside the steps below.
What You'll Need Before You Start
You don't need to spend money to make meaningful changes, but a few tools and some advance thinking will help the process go more smoothly.
What you will need
Tape measure
Measure furniture and floor area before rearranging or buying anything new.
Painter's tape or string
Mark out proposed zones or furniture footprints on the floor before committing to a layout.
Storage bins or baskets
Contain each person's belongings within a defined area without permanent fixtures.
Room divider, bookshelf, or curtain
Create a visual or physical boundary between zones in an open-plan space.
Step-by-Step: Organising a Shared Space
Work through these steps in order. Skipping ahead — especially to buying new items — often means spending money on solutions that don't actually fit your real problems.
Map the current space honestly
Walk through the room and note where clutter collects, which areas are underused, and where people tend to gather or avoid. Identify the primary activities that need to happen here — sleeping, working, relaxing, entertaining, playing — and roughly how often each one occurs.
Identify each person's non-negotiables
Ask everyone who uses the space to name one or two things they genuinely need — not preferences, but needs. Examples: "I need somewhere to leave my work things at the end of the day," or "I need a place to sit that isn't the same spot the dog uses." Write these down. They become your constraints, and constraints are useful because they narrow your options.
Define zones based on activity, not ownership
Group the activities you identified in Step 1 into loose zones: a focus area, a relaxation area, a social area, a storage area. These don't need walls or major furniture investment — a rug, a lamp, or a change in furniture arrangement can define a zone just as clearly. See furniture arrangement principles that open up any floor plan for practical guidance on how placement affects flow.
Assign personal storage within each zone
Each person's belongings should have a defined home — ideally within or near the zone where they use those items. A basket, a shelf section, or a drawer is enough. The principle is that anyone living in the space can find their own things and put them away without disrupting shared areas. This single step reduces most day-to-day clutter conflict.
Agree on shared visual rules (not identical taste)
You don't need everyone to love the same aesthetic, but a few shared rules help the space feel cohesive rather than chaotic. Examples: "We keep the sofa area in neutral tones and each add our own colour through cushions and blankets," or "Anything on open shelves needs to be in a container." For low-cost ways to unify a look, paint, lighting, and mirrors are a practical starting point that doesn't require major spending.
Test the layout before locking it in
Live with any significant furniture changes for a week before deciding they're permanent. What looks good on paper may feel different in daily use — a zone that seemed logical might interrupt a natural traffic path, or a storage solution might be too awkward to use consistently. Adjust based on what actually happens, not what you expected to happen.
Keeping It Working Over Time
A shared space isn't a one-time project. People's needs shift — someone starts working from home, a kid gets older, a new roommate moves in. Build in a light review every few months: does the layout still match how the space is actually used? Are there new friction points?
The goal isn't perfection — it's reducing daily irritation so everyone in the household gets genuine use from their home. Even small wins, like a shelf that keeps one person's gear contained, or a lamp that creates a readable nook, make a real difference to how a space feels day-to-day.
If storage is still feeling squeezed, using vertical space effectively is one of the most underused strategies in shared homes. And if the furniture itself isn't earning its floor space, multifunction furniture comes with real trade-offs worth understanding before you commit.
Small Wins Add Up Quickly
You don't need to overhaul a room to improve it. Adding one good lamp to a dim corner, dedicating a single shelf to one person's work items, or placing a rug to define a seating area can each meaningfully reduce daily friction. Start with the changes that address the most-mentioned frustrations first, and build from there.