

Key Takeaways
- Caulk fails most often due to poor surface prep, wrong product choice, or applying over old caulk.
- Most cracks around tubs, sinks, and windows are DIY-fixable with basic tools and patience.
- Using the right caulk type for each location — bathroom, kitchen, or exterior — makes a real difference.
- Allowing full cure time before exposing new caulk to water prevents early cracking and peeling.
- Ignoring cracked caulk invites water damage that can become far more costly to repair.
Why Cracked Caulk Is Worth Taking Seriously
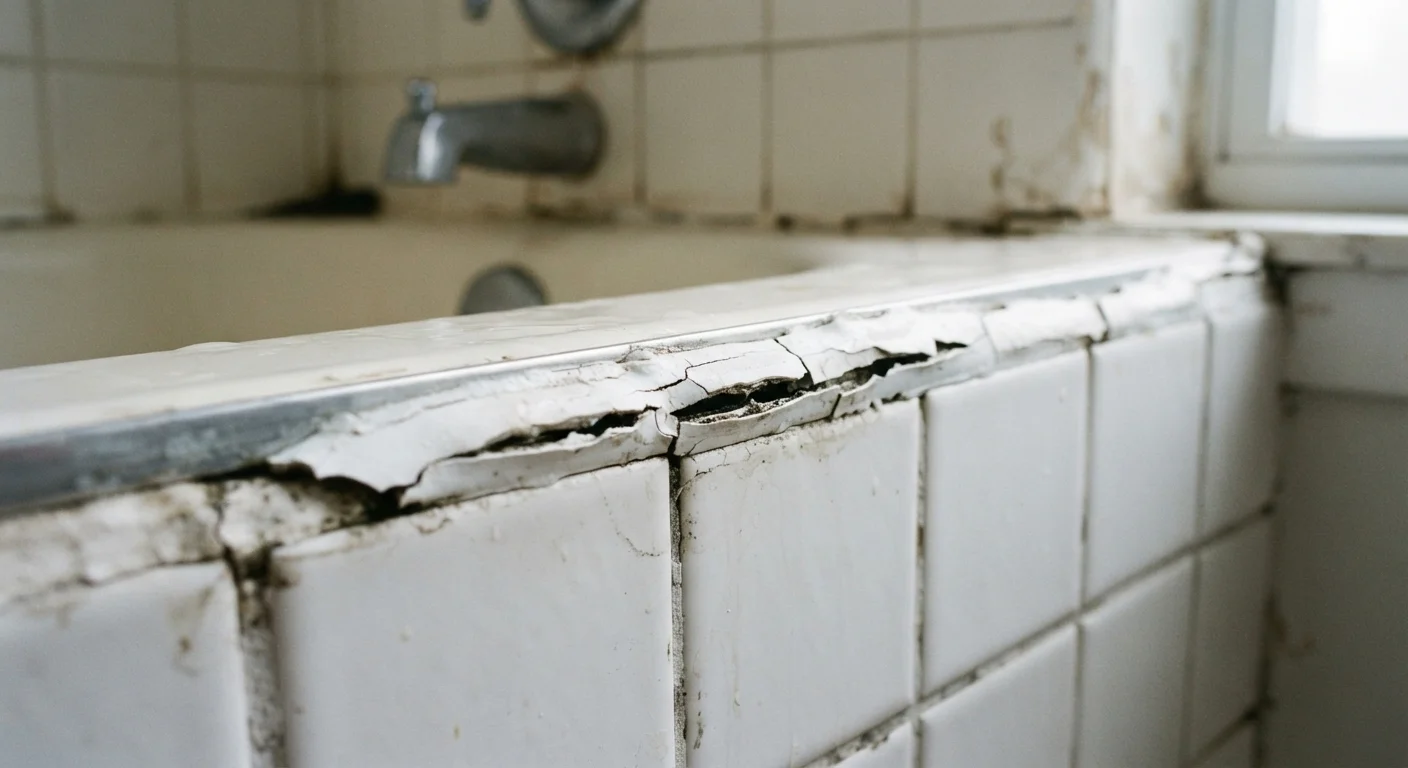
A thin line of cracked caulk around a tub or window might seem purely cosmetic, but it's doing a real job — keeping water out of places it doesn't belong. Once that seal breaks down, moisture can work its way behind tile, into wall cavities, and under flooring. The damage that follows often costs far more to fix than a tube of caulk and an afternoon of work.
The good news is that caulk failure is almost never random. It follows predictable patterns, and once you understand why it keeps cracking, you can fix it in a way that actually holds. See also our guide on reading your home's early warning signs — cracked caulk is often one of the first signals your home sends before bigger problems develop.
Caulking over old, existing caulk instead of removing it first.
Why it happens: It looks like a shortcut — add a fresh layer on top and the crack disappears. But the old caulk has already lost adhesion and the new layer has nothing solid to grip.
Applying caulk to a wet or damp surface.
Why it happens: People typically re-caulk during or right after cleaning the bathroom, when surfaces are still wet. Moisture under the caulk prevents proper adhesion from the start.
Using the wrong type of caulk for the location.
Why it happens: Many people grab whatever tube is on hand, not realizing that all-purpose caulk, bathroom caulk, and exterior caulk have different formulas built for different conditions.
Not allowing enough cure time before exposing the new caulk to water.
Why it happens: The caulk looks dry on the surface within an hour or two, which creates the impression it's ready. But the interior of the bead needs more time to cure fully.
Applying too thick a bead of caulk.
Why it happens: The instinct is that more material means a better seal. But thick beads shrink more as they cure, creating stress that leads to cracking and poor adhesion along the edges.
Skipping the surface cleaning step entirely.
Why it happens: The joint looks visually clean, so scrubbing it down feels unnecessary. But soap residue, body oils, mildew, and dust all compromise adhesion — even if you can't see them.
How to Re-Caulk Properly So It Lasts
Once you know what's been going wrong, fixing it is straightforward. Start by removing every bit of old caulk using a caulk removal tool or a stiff plastic scraper — leave nothing behind. Clean the joint thoroughly with rubbing alcohol or a bathroom cleaner and let it dry completely. Any moisture or residue left on the surface is a future crack waiting to happen.
Apply a steady, even bead with the tube held at a consistent angle, then smooth it with a wet finger or caulk tool in one continuous stroke. Don't rush the cure. Check the product label — many bathroom caulks need 24 hours before water contact, and some require longer in cooler or humid conditions.
Don't Caulk Over Existing Mold
If you see dark staining or fuzzy growth in the joint, caulking over it traps the mold behind a sealed surface where it can continue spreading. Address the mold first — consult a professional if the affected area is larger than a few square inches or if it keeps returning. Mold behind walls is a more serious problem than cracked caulk. Our article on home maintenance myths covers why surface treatments alone often miss the root cause.
If you're ever unsure whether you need caulk or grout for a tile joint, the grout vs. caulk guide lays out exactly when each material belongs. Using the wrong one is a surprisingly common reason caulk fails repeatedly in the same spot. And for other home fixes that tend to get put off longer than they should, knowing when a wall fix is enough can help you prioritize where to spend your time.