

Key Takeaways
- Grout is rigid and best for joints between tiles on flat, stable surfaces.
- Caulk is flexible and essential wherever two surfaces meet at a change of plane — corners, edges, and transitions.
- Using grout in a corner or expansion joint almost guarantees cracking as the structure moves.
- Using caulk instead of grout between field tiles invites mold growth and long-term adhesion failure.
- Color-matching caulk is widely available, so joints don't have to look mismatched.
- When in doubt, consult a licensed tile contractor — especially for wet areas with waterproofing requirements.
Option A
Grout
The rigid, load-bearing filler for tile fields.
Best for: Filling the uniform joints between tiles on floors, walls, and backsplashes where movement is minimal.
Option B
Caulk
The flexible sealant built for joints that move.
Best for: Sealing corners, transitions, and any joint where two surfaces meet at an angle or expand with temperature changes.
Filling joints between floor or wall tiles on a flat surface
Grout
Grout is formulated to resist compression and foot traffic while bonding tightly to tile edges — caulk would compress, discolor, and collect grime in these high-contact joints.
Sealing where the tub or shower pan meets the tile wall
Caulk
This joint flexes every time the tub fills with water. Rigid grout will crack within months; flexible caulk accommodates the movement and maintains the waterproof seal.
Finishing inside corners in a tiled shower
Caulk
Corner joints are change-of-plane joints that experience constant movement. Grout cannot flex here and will inevitably crack, allowing water infiltration behind the tile.
Tiling a kitchen backsplash up to a countertop edge
Caulk
The countertop and wall expand and contract independently. A thin caulk joint at the transition absorbs that movement without telegraphing stress into the tile or grout.
Budget-conscious DIY repair of an existing hairline crack in a grout line
Grout
A matched grout color applied carefully restores the joint's compression resistance. Filling a flat field joint with caulk is a short-term fix that will look different and wear unevenly.
Why This Decision Actually Matters
Walk into most home improvement stores and you'll find grout and caulk sitting on the same shelf, often in matching colors. It's easy to assume they're interchangeable — they're both gap-fillers, after all. But they serve fundamentally different structural roles, and mixing them up is one of the most common sources of water damage in tiled bathrooms and kitchens.
Grout is a cement-based (or epoxy-based) material that hardens completely once it cures. That rigidity is its strength: it resists compression, supports the edges of tiles, and doesn't compress under foot traffic. Caulk, on the other hand, is a flexible polymer — silicone or latex — that stays pliable after curing. That flexibility is the point. Homes move. Floors deflect. Temperature swings cause materials to expand and contract. Caulk absorbs that movement; grout cracks under it.
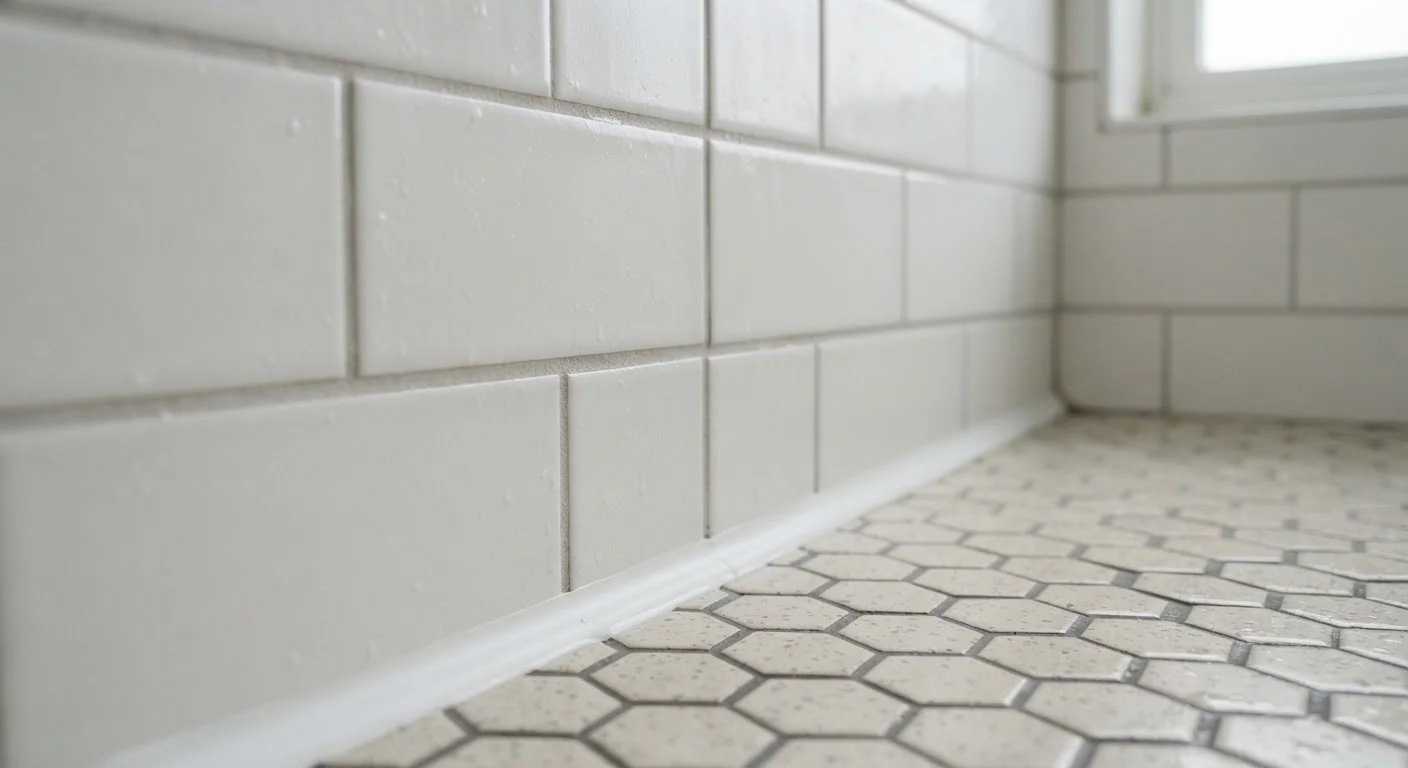
The rule of thumb used by most professional tile setters is straightforward: grout goes between tiles on the same plane; caulk goes wherever two surfaces meet at a change of plane or where movement is expected.
| Criterion | Grout | Caulk |
|---|---|---|
| Composition | Cement- or epoxy-based | Silicone or latex polymer |
| Flexibility after curing | Rigid — does not flex | Remains pliable |
| Best joint type | Field joints between tiles | Corners, transitions, perimeter edges |
| Water resistance | Moderate (must be sealed) | High (especially silicone) |
| Handles structural movement | No — cracks under flex | Yes — designed for movement |
| Typical lifespan | 10–20 years in stable joints | 5–10 years before reapplication |
| DIY difficulty | Moderate — mixing, timing | Low — gun application |
Where Each Material Belongs
Grout territory: The field joints — the regular, uniform gaps running between tiles on a floor, wall, or countertop — are grout's domain. These joints are designed to a consistent width (commonly 1/16" to 3/8" depending on tile type), and grout is formulated to fill them completely and bond to the tile edges. Unsanded grout suits narrow joints; sanded grout is used for wider ones.
Caulk territory: Any joint at a corner or transition point needs caulk. That includes: the seam where a tile wall meets a tub deck or shower pan, inside corners in a tiled shower enclosure, the joint where a backsplash meets a countertop, and the perimeter where floor tile meets a wall or cabinet base. These are all locations where two independent surfaces meet — surfaces that don't expand and contract at the same rate or in the same direction.
If you've noticed grout cracking in the corners of your shower within a year or two of installation, this is almost certainly why. Learn more about why caulk joints fail and what proper prep looks like before you reapply.
Epoxy Grout: A Special Case
Epoxy grout is a two-part alternative to cement-based grout that offers significantly higher water and stain resistance. It's common in commercial kitchens and high-moisture residential applications. It's still a rigid material, though — the grout vs. caulk placement rules still apply. Epoxy grout is more difficult to work with than standard cement grout and typically costs more, so it's worth researching whether the added performance is necessary for your specific project.
Practical Tips for Getting It Right
Color matching: One reason people reach for grout in corners is aesthetics — they don't want a visible seam. Color-matched sanded caulk is widely available and designed exactly for this. You can usually find caulk in the same color family as your grout to keep things visually cohesive.
Surface prep matters: Whether you're applying grout or caulk, the joint needs to be clean, dry, and free of old material. Old grout in a corner can be carefully removed with an oscillating tool or grout saw. Old caulk should be fully cut out and the surface cleaned before reapplying — residue undermines adhesion on both materials.
When to call a professional: If you're retiling a wet area like a shower, waterproofing behind the tile is as important as what's on the surface. Licensed tile contractors understand the layered system — backer board, membrane, tile, grout, and caulk — and can ensure the whole assembly keeps water where it belongs. For a straightforward grout repair in a low-moisture area, a careful DIYer can do well. But for anything involving a full shower or tub surround, professional installation protects you from costly water damage down the road. See when a surface repair is enough versus when you need a deeper fix for related guidance on reading the signs.
~70%
Of shower leaks traced to failed joints
Industry tile installation guides consistently cite failed corner joints and perimeter seals as a leading cause of water infiltration behind tile assemblies.
5–10 yrs
Typical caulk service life in wet areas
Most manufacturers and tile trade organizations recommend inspecting and replacing caulk in shower and tub joints every five to ten years under normal use.