

Key Takeaways
- Weather-stripping seals the movable gaps around doors and windows that caulk cannot address.
- Common materials include foam tape, V-strip, door sweeps, and reinforced rubber — each suited to different locations.
- Most weather-stripping projects require only scissors or a utility knife and take under an hour per door or window.
- Renters can often install and remove certain types without damaging the property.
- Worn or compressed weather-stripping is one of the most overlooked sources of drafts and higher utility bills.
Weather-Stripping
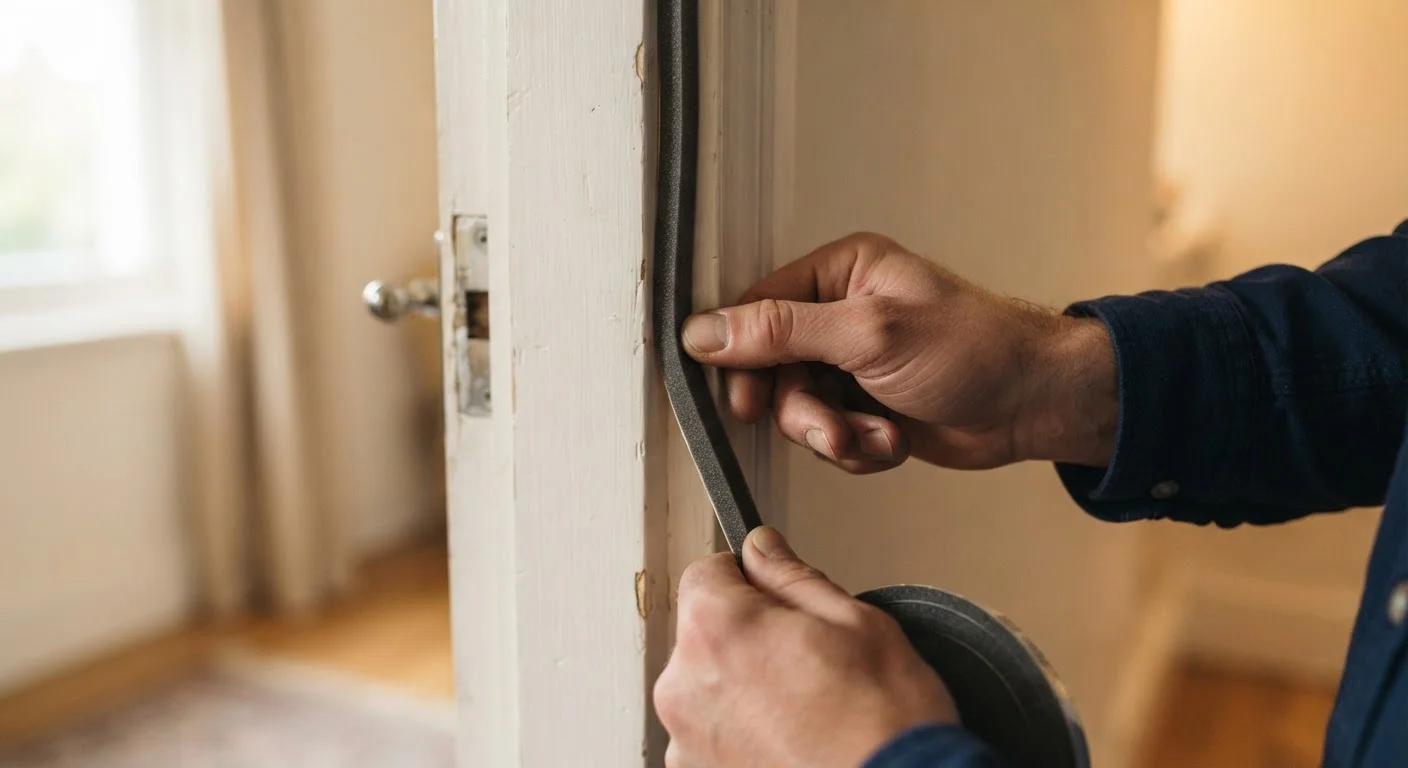
Weather-stripping is a flexible seal applied around doors and windows to close the small gaps between a moving part (like a door panel) and its fixed frame. It blocks outside air, moisture, dust, and noise from entering your home through those gaps. Most types are sold as peel-and-stick rolls or strips that you cut to length and press into place.
Weather-stripping differs from caulk in that it's designed for moving joints — surfaces that open and close — whereas caulk is used for stationary cracks and seams.
Why Gaps Around Doors and Windows Matter
Even a door that looks flush in its frame can have enough of a gap around it to let in a surprising amount of outside air. The U.S. Department of Energy estimates that air leaks — including those around doors and windows — can account for a significant share of a home's total heating and cooling loss. Weather-stripping is the direct solution to that specific problem.
Unlike caulk, which fills stationary cracks in walls, siding, or fixed window frames, weather-stripping is made for moving joints. It compresses when you close a door or window and expands back when the gap opens, maintaining a seal through thousands of cycles. It's also the kind of repair that fits neatly into the broader goal of making your home more comfortable without large spending.
Drafts aren't the only issue. Gaps in seals also allow moisture-laden air in, which can quietly contribute to condensation and mold over time — a concern covered in detail in our guide on reading your home's early warning signs.
The Main Types of Weather-Stripping
Choosing the right material for each location is the most important decision in the whole process. Using the wrong type means it either wears out quickly or doesn't seal properly from the start.
Up to 30%
Of home energy use lost through air leaks
The U.S. Department of Energy identifies air sealing, including around doors and windows, as one of the highest-impact ways to reduce residential energy costs.
1–3 years
Typical lifespan of foam tape weather-stripping
Foam tape compresses with repeated use and generally needs replacing more frequently than V-strip or reinforced rubber alternatives.
Under $10
Typical material cost per door
Most standard weather-stripping rolls and door sweeps are among the most affordable home maintenance materials available at hardware stores.
- Foam tape: The most widely available and affordable option. It's self-adhesive, easy to cut, and works well on window sashes and the top and hinge-side of interior doors. Its weakness is compression — it flattens out over time and loses its seal, usually within a year or two under heavy use.
- V-strip (tension seal): A folded strip of metal or plastic that springs open to fill a gap. It fits into the channel of a door or window frame and is much more durable than foam tape. Ideal for the sides of doors and double-hung windows.
- Door sweeps: Installed along the bottom edge of a door, these address the largest gap in most homes. They consist of a metal or plastic bar holding a rubber, vinyl, or brush strip that drags lightly across the threshold. Some screw in; others use adhesive.
- Reinforced rubber or silicone compression strips: These staple or nail into a door stop molding and compress firmly when the door closes. They're more durable than foam and are commonly used on exterior doors in climates with significant temperature swings.
For a broader view of how weatherization fits into pre-winter preparation, see our seasonal home maintenance checklist.
How the Installation Process Actually Works
The process varies slightly by material type, but the core steps are consistent enough that most people can complete a door in 30 to 45 minutes.
Test Before You Buy
Before purchasing materials, do a quick draft test by running your hand slowly around the closed door or window perimeter on a windy day, or hold a lit incense stick near the edges and watch for smoke movement. This tells you exactly where the gaps are and how large they seem, which helps you choose the right material thickness before spending anything.
- Remove the old material first. Peel off any existing weather-stripping. If adhesive residue remains, a little rubbing alcohol or adhesive remover on a cloth cleans the surface. The new material won't bond or seat correctly over an old, uneven layer.
- Clean and dry the surface. Even a thin layer of dust or grease prevents adhesive strips from sticking. Wipe down the door stop or frame channel and let it dry completely before applying anything.
- Measure and cut. Measure each side of the door or window frame separately — frames aren't always perfectly square. Cut your strips slightly long and trim to fit rather than cutting short and leaving a gap.
- Apply and test. Press the strip firmly into place. Close the door or window slowly and check for even resistance across the full length of the seal. If one section feels looser than another, the frame may have a slight bow and you may need a thicker material in that spot.
One common mistake is applying foam tape to a surface that's painted over old caulk or has a rough texture — it won't adhere well. Flat, clean surfaces are essential. This is also worth keeping in mind if you've run into maintenance myths that make problems worse.
What Weather-Stripping Can and Can't Do
Weather-stripping solves one specific problem: air and moisture infiltration through movable gaps. It won't fix a warped door that doesn't close properly, repair a cracked window frame, or compensate for poor attic insulation. If you're still feeling drafts after installing new weather-stripping, the source may be elsewhere — baseboards, electrical outlets on exterior walls, or gaps around pipes are other common culprits.
It also won't directly improve air quality on its own. In fact, a very tightly sealed home may need more intentional ventilation to prevent moisture buildup. Our article on low-cost ways to improve indoor air quality covers practical ways to balance sealing with ventilation.
That said, for what it does address, weather-stripping is genuinely one of the most accessible, low-cost repairs available to renters and homeowners alike. Most of the materials cost only a few dollars per door, require no prior experience, and produce a noticeable difference in comfort. It fits squarely into the kind of budget-conscious home improvement framework that focuses on high-impact, low-spend actions first.