

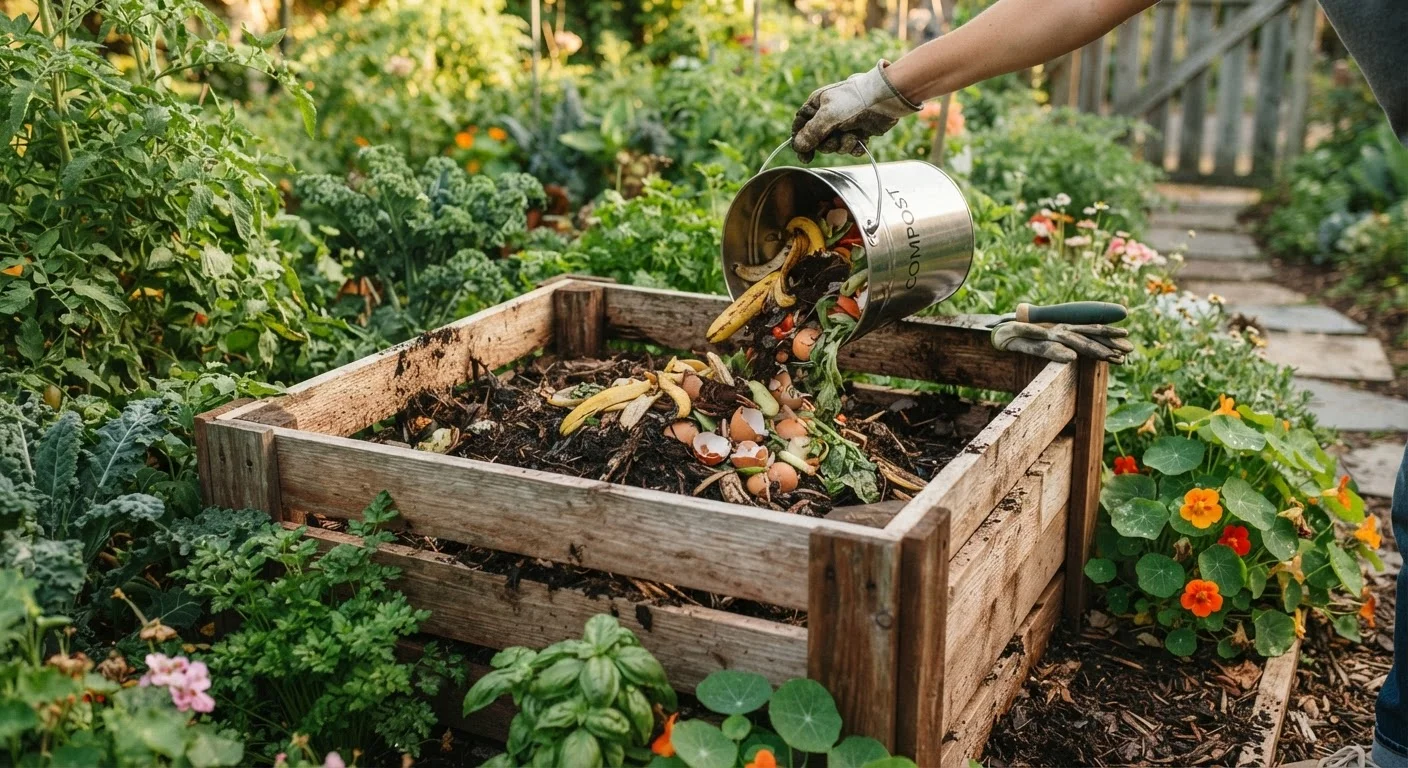
Key Takeaways
- Balance 'greens' and 'browns' to prevent odor and speed decomposition.
- Meat, dairy, and oily foods do not belong in a home compost bin.
- Small-space options like bokashi systems work indoors or on a balcony.
- Finished compost is ready in two to six months, depending on conditions.
- Homemade compost cuts the need for purchased soil amendments.
What you will need
Why Composting Is Worth the Effort
Kitchen scraps and garden clippings make up a significant share of household waste. Instead of sending that material to landfill, composting turns it into something your garden actually needs — a slow-release soil conditioner that improves drainage in heavy clay and moisture retention in sandy soil. If you grow vegetables, use containers, or simply want a healthier lawn, finished compost does a similar job to bagged soil amendments at no ongoing cost.
The smell and mess that put many people off composting usually come down to one avoidable mistake: putting the wrong things in or skipping the balance between wet and dry material. Get that right from the start and the process looks after itself. If you are just getting into gardening more broadly, this beginner's garden guide is worth a read before you start amending your soil.
Composting Saves Real Money Over Time
Finished compost works as a general soil conditioner, seed-starting amendment, and lawn top-dressing. Replacing even one or two bags of purchased compost or potting mix per season adds up, particularly if you grow vegetables or maintain containers. The upfront cost of a basic bin is typically recovered within a single growing season.
What You Need Before You Start
You do not need much. A bin or dedicated area, a basic understanding of what goes in, and a little patience are genuinely enough. For outdoor gardens, an open-bottomed plastic bin or a simple three-sided timber bay both work. If you are in a flat or have only a balcony, a sealed tumbler or a bokashi bucket (a fermentation-based indoor system) are realistic alternatives.
What you will need
Compost bin or timber bay
Contains the composting material and retains heat to speed decomposition.
Bokashi bucket
Ferments food waste indoors using bran inoculant — suitable for flats and small balconies.
Garden fork or compost aerator
Used to turn and aerate the pile, which speeds breakdown and prevents compaction.
Kitchen scrap container with lid
Collects daily kitchen waste between trips to the outdoor bin.
How to Build and Maintain Your Compost
Follow these steps in order when setting up your bin for the first time. After that, maintenance mostly means adding material and occasionally turning the pile.
Choose the right spot and container
Place an outdoor bin on bare soil rather than a hard surface so worms and microbes can move freely in and out. A partly shaded spot is ideal — full sun dries the pile out too fast, full shade slows it down. If you are using a balcony or indoor system, a sealed tumbler or bokashi bucket can sit on any stable surface.
Lay a base of coarse browns
Start with a 3–4 inch layer of coarse material at the bottom: small twigs, wood chip, or torn cardboard. This layer allows air to circulate from underneath and prevents the pile from becoming a soggy, compacted mass.
Add material in alternating layers
Build the pile in layers, alternating between greens (fresh, nitrogen-rich material) and browns (dry, carbon-rich material). A rough ratio of one part greens to two or three parts browns by volume works well for most home composters. Greens include fruit and vegetable scraps, coffee grounds, fresh grass clippings, and plant trimmings. Browns include cardboard, dry leaves, straw, and shredded paper.
Keep moisture levels right
The pile should feel damp but not sodden — roughly the texture of a wrung-out sponge. If it feels dry, add a little water or more green material. If it feels waterlogged, add more browns and turn the pile to let air in. A lid or cover helps during heavy rain.
Turn the pile regularly
Use a garden fork or aerator to turn the pile every one to two weeks. This mixes material, introduces oxygen, and prevents anaerobic (airless) decomposition, which is the main cause of bad smells. Move material from the cooler outer edges toward the centre, where temperatures are highest.
Harvest finished compost
Compost is ready when the material at the bottom of the pile is dark brown, crumbly, and smells earthy — like forest soil. There should be no recognisable scraps remaining. Stop adding fresh material for four to six weeks before you want to harvest, to allow the lower layers to finish. Scoop out the finished compost from the bottom of the bin and apply it directly to beds or containers.
Once your compost is finished and worked into beds, you may want to layer mulch on top to lock in the benefits. Our guide on garden mulching explains how and when to apply it effectively. And if you are gardening on a tight budget, composting is one of the highest-impact free habits — see where to spend and where to save for more practical ideas.
Troubleshooting Common Problems
Most composting problems have a straightforward fix once you know what to look for.
- Smells like ammonia or rotten eggs: Too many greens or the pile is too wet. Add dry browns (cardboard, straw, dried leaves) and turn the pile to introduce air.
- Nothing seems to be breaking down: The pile is probably too dry or lacks nitrogen. Add a layer of fresh grass clippings or vegetable scraps and dampen the pile lightly with water.
- Pests around the bin: Check that no cooked food, meat, or dairy has been added. Make sure your bin has a secure lid or sits on a mesh base to deter rodents.
- Pile is too small to heat up: Aim for a minimum volume of roughly one cubic yard (about 3 ft × 3 ft × 3 ft) for a hot composting setup. Smaller cold compost piles still work — they just take longer.
Diseased Plants and Weeds Need Special Handling
Do not add plants that are visibly diseased or pest-infested to a standard cold compost pile. The temperatures in a cold pile may not be sufficient to kill pathogens or weed seeds, meaning you could spread problems when you apply the finished compost. Hot compost piles that reach sustained high temperatures handle these materials more safely, but unless you can verify your pile is consistently hot throughout, leave diseased material out.
Some gardening advice that circulates online can make compost management more complicated than it needs to be. Common garden myths worth skipping include the idea that you need special activator products — a healthy, balanced pile does not.