

Key Takeaways
- Contour lines show elevation change — closer spacing means steeper terrain.
- Map scale determines how much ground each inch on the map represents.
- Index contours and contour intervals are labeled on every standard topo map.
- Practicing map reading at home sharpens real-world navigation skills before you need them.
- A physical map and compass work when phones and GPS devices fail.
What you will need
Why Topo Maps Matter Before You Hit the Trail
A topographic map — commonly called a topo map — is one of the most powerful planning tools available to any hiker, regardless of budget. Unlike a trail app that shows a flat line, a topo map reveals the shape of the land: ridgelines, valleys, steep climbs, and gentle meadows. Learning to read one before your trip means you'll hike with context, not just coordinates.
The good news? The US Geological Survey (USGS) publishes free, downloadable topo maps for virtually every corner of the country at nationalmap.gov. You don't need to buy anything to get started. Print a map of a local park, sit at your kitchen table, and work through these steps. By the time you're standing at a trailhead, the terrain will feel familiar before you've walked a single mile.
This skill also pairs naturally with broader trip prep. See the adventure planning checklist for how map reading fits into your full pre-departure routine.
What you will need
The Core Elements of a Topo Map
Before diving into the steps, it helps to know the three building blocks every topo map shares:
- Contour lines: Curved lines connecting points of equal elevation. They never cross. When they're close together, the slope is steep. Wide spacing means gentle terrain.
- Contour interval: The elevation difference between each contour line — typically printed in the map's legend. A 40-foot interval means each line represents a 40-foot rise or drop.
- Map scale: The ratio between map distance and real-world distance. A scale of 1:24,000 (standard for USGS 7.5-minute quads) means 1 inch on the map equals 2,000 feet on the ground.
Understanding these three things unlocks everything else. Once you can interpret contour spacing and translate map inches to trail miles, you can estimate hike difficulty, identify water sources, and spot potential hazards — all from your living room.
Practice Makes Navigation Automatic
Spend 15–20 minutes studying a topo map of a trail you've already hiked. Match what you remember of the terrain to what you see on the map. This backward exercise — terrain to map, rather than map to terrain — is one of the fastest ways to build real navigation fluency. Do it a few times and the contour language starts to feel instinctive.
Step-by-Step: How to Read Your Topo Map
Work through these steps with a printed or on-screen topo map of a trail you plan to hike. Practice on a route you already know before applying it somewhere new.
Find the Legend and Read the Contour Interval
Locate the map legend — usually in a corner of the map. Find the contour interval, which tells you how much elevation each line represents. On standard USGS maps this is often 40 feet. Write this number down; you'll use it throughout your planning.
Check the Map Scale and Calculate Trail Distance
Find the scale bar or ratio (e.g., 1:24,000). Use a ruler to measure the straight-line distance between your trailhead and destination on the map, then apply the scale to get real-world distance. Remember: this is straight-line, not trail distance — actual hiking distance along switchbacks will be longer.
Identify Steep vs. Gentle Terrain
Scan your intended route for areas where contour lines bunch tightly together — those are steep sections. Wide spacing indicates gentler slopes. Count the contour lines you'll cross along your route and multiply by the contour interval to calculate total elevation gain. A route crossing ten 40-foot contours gains 400 feet of elevation.
Spot Key Terrain Features
Learn to recognize these shapes in contour lines:
- Ridge: A line of contours forming a V or U shape pointing downhill (away from the summit).
- Valley or drainage: Contours forming a V or U shape pointing uphill (toward the summit). These often indicate streams.
- Summit: A closed loop of contour lines — the innermost ring is the highest point.
- Saddle: An hourglass shape between two high points — often the easiest crossing between ridges.
Align the Map with a Compass
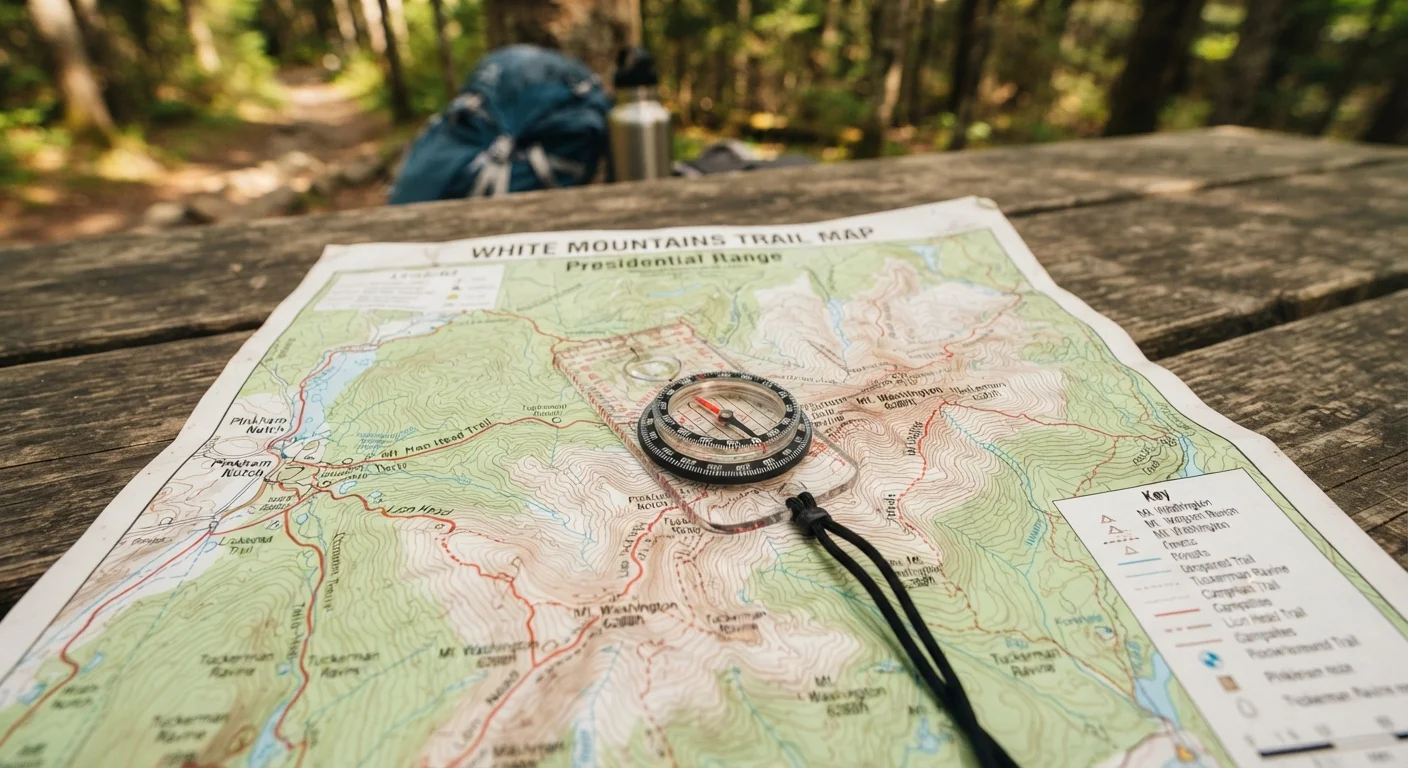
Once you're in the field, orient your map so North on the map points toward magnetic north. Hold a baseplate compass flat, rotate the map until the compass needle aligns with the map's north arrow (accounting for any listed declination — the difference between true and magnetic north in your area). Your map now reflects the actual landscape around you.
Confirm Your Position Using Landmarks
Pick two or three identifiable terrain features — a hilltop, a valley, a trail junction — and locate them on your map. Compare their direction relative to where you're standing. This process, called triangulation, confirms your position without GPS. Practice it at known locations before relying on it in unfamiliar terrain.
Once you're comfortable reading terrain on paper, combine this skill with solid emergency planning. The emergency communication guide explains how to build a reliable system for remote trips where phone signal isn't guaranteed.
If you're heading to a state park, this pre-visit checklist walks through permits, gear, and safety basics alongside your map prep. And when you're ready to take things further, what first-timers need to know about multi-day hiking is an honest look at what to expect once you're out there.