

Key Takeaways
- Chemical drain cleaners can corrode pipes and are rarely necessary for common household clogs.
- A plunger and a drain snake handle the majority of slow or blocked drains effectively.
- Baking soda and vinegar can help with mild buildup but won't break up solid blockages.
- Prevention — using drain screens and flushing with hot water weekly — reduces how often clogs form.
- Persistent or recurring clogs may signal a deeper plumbing issue that warrants a professional look.
What you will need
Why Skip the Chemical Cleaners
Liquid drain cleaners are easy to grab off a shelf, but they come with real downsides that many people don't think about until it's too late. The active ingredients — typically lye or sulfuric acid — generate heat to dissolve clogs, and that same heat can soften PVC pipes and corrode older metal ones with repeated use. They can also pose a chemical burn risk during handling and are hazardous to dispose of.
Beyond the pipe damage, chemical cleaners often don't fully clear the blockage. They eat through part of a clog, give you a temporarily draining sink, and leave residue that becomes the foundation for the next clog. Mechanical and natural methods, by contrast, physically remove the obstruction rather than just partially dissolving it.
It's worth reading our guide to common home maintenance myths if you've been told chemical cleaners are the only reliable fix — that's one of several widely held beliefs that can quietly make plumbing problems worse over time.
What you will need
What You'll Need
You don't need a plumber's toolkit to clear most household drains. A few inexpensive items cover the vast majority of situations:
Cup plunger
Creates suction to dislodge clogs in sink and tub drains.
Drain snake (hand auger)
Reaches deeper into the pipe to physically break up or retrieve blockages a plunger can't clear.
Needle-nose pliers or drain hair tool
Pulls hair and debris directly out of the drain opening near the surface.
Baking soda and white vinegar
Creates a mild fizzing reaction that can loosen light soap scum and biofilm buildup.
Bucket and old towels
Catches water when removing a drain stopper or P-trap and protects the cabinet below.
Adjustable pliers or pipe wrench
Loosens the P-trap slip nuts if the clog is located in the curved pipe section under the sink.
A standard cup plunger works for sinks and tubs. For toilets, use a flange plunger, which has an extended rubber lip that seals better against the toilet bowl. Keep them separate and labeled.
How to Clear the Clog: Step by Step
Work through these methods in order. Start simple — many clogs clear with just hot water or a plunger, and you won't need to go further.
Remove visible debris from the drain opening
Put on rubber gloves. Remove the drain stopper if there is one — most pop-up stoppers in bathroom sinks lift straight out or unscrew. Use needle-nose pliers or a plastic drain hair tool to pull out any accumulated hair, soap buildup, or debris from just inside the opening. This alone clears a surprising number of slow drains.
Try boiling or very hot water
For kitchen sinks, carefully pour a full kettle of boiling water directly down the drain in two or three slow stages, waiting 30 seconds between each pour. For bathroom drains, use the hottest tap water available (boiling water can crack some porcelain fixtures). Hot water melts grease and soap residue that's causing sluggish flow.
Use baking soda and vinegar for mild buildup
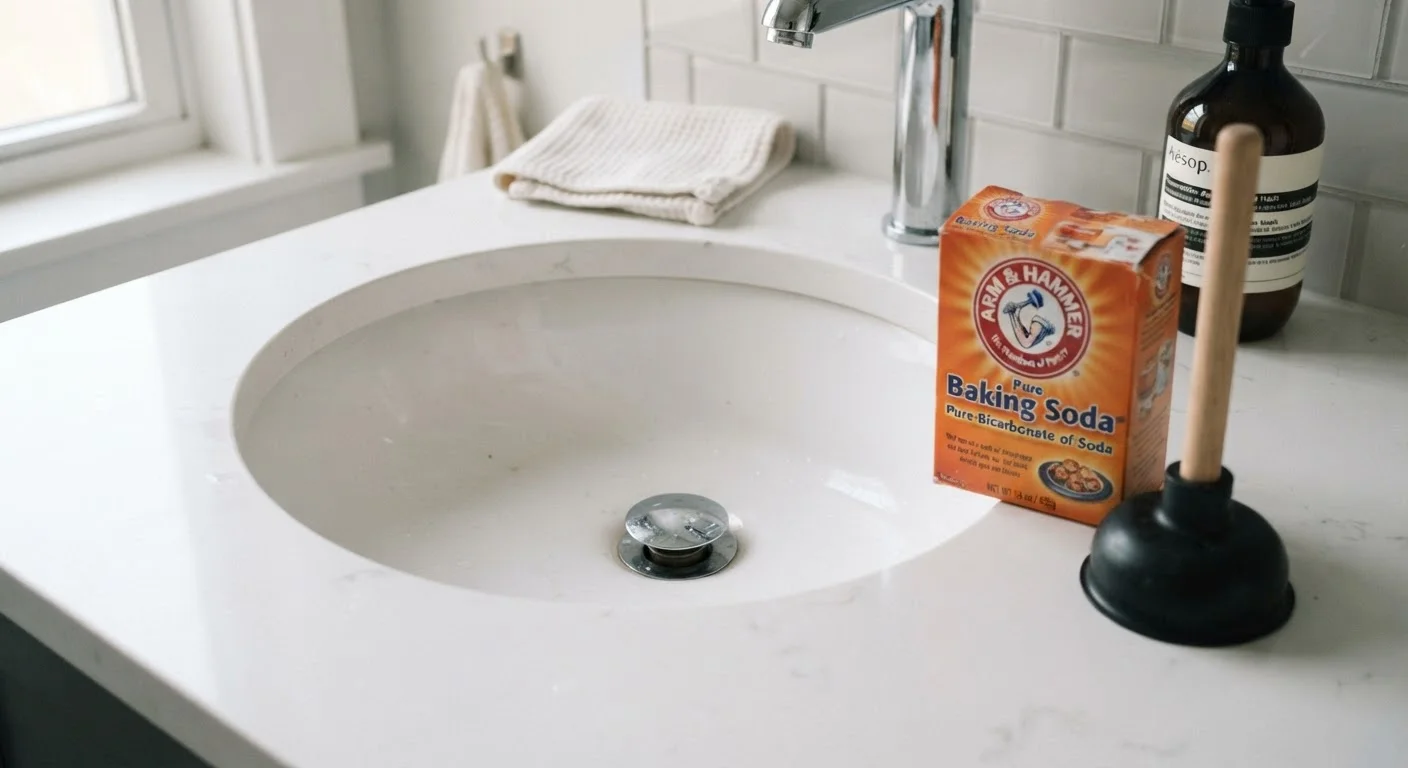
Pour half a cup of baking soda directly into the drain, followed by half a cup of white vinegar. Cover the drain opening with a cloth or stopper to direct the fizzing action downward. Wait 15–20 minutes, then flush with hot water. This method works best on light soap scum and organic buildup — it won't break up a solid hair or grease clog.
Plunge the drain
Add enough water to the sink or tub to cover the rubber cup of the plunger. If the fixture has an overflow opening (the small hole near the top of a bathroom sink), block it with a wet cloth — this maintains suction pressure. Position the plunger directly over the drain, press down firmly to create a seal, and pump up and down with short, forceful strokes for 20–30 seconds. Pull the plunger off sharply to break the seal. Repeat two or three times, then run water to check drainage.
Use a drain snake to reach deeper clogs
Feed the end of the drain snake into the drain opening and rotate the handle clockwise as you push it further in. When you feel resistance, you've hit the clog. Continue rotating to either break it up or hook into it, then pull back slowly. Clean the debris off the snake as you retrieve it. Run water to test the drain. Repeat if drainage is still slow.
Clean out the P-trap if the clog persists
The P-trap is the curved pipe section under the sink — shaped like a U or P — and it's a common spot for grease, food, and debris to accumulate. Place a bucket under it before starting. Use adjustable pliers to loosen the slip nuts on both ends of the curved section. Remove the trap, dump the contents into the bucket, and clear any blockage by hand or with a brush. Rinse the trap, reattach it snugly, and run water to check for leaks at the connections.
When to Call a Licensed Plumber
If none of these methods clear the drain, water backs up into other fixtures when you run a tap, or you hear gurgling sounds from other drains, stop and call a plumber. These signs suggest the blockage is in a shared drain line or the main stack — not something to address with DIY tools. Forcing a snake into a shared line without knowing the pipe layout can cause damage.
Keeping Drains Clear Long-Term
The best clog fix is the one you never have to deal with. A few simple habits make a real difference:
- Use drain screens in every sink, tub, and shower. Hair and food scraps are the top culprits in most household clogs.
- Flush with hot water for 30 seconds after each use of a sink, especially in the kitchen where grease accumulates.
- Avoid pouring grease down any drain. Let it solidify in a container and dispose of it in the trash.
- Run cold water when using a garbage disposal — contrary to popular belief, cold water keeps fats solid so they pass through rather than coating the pipe walls.
If you're dealing with a drain that clogs repeatedly despite clearing it correctly, that pattern can point to a deeper issue — a partial pipe collapse, root intrusion, or venting problem. Those situations benefit from a licensed plumber's assessment. Ignoring recurring problems tends to push repair costs higher over time, a pattern covered in our article on why small repairs skipped become big bills.
Also worth noting: moisture that lingers around drains and under sinks can affect air quality in your home. If you notice musty odors or visible moisture around plumbing fixtures, our tips on improving indoor air quality offer practical, affordable steps to address it.