

Key Takeaways
- Paint is the highest-impact, lowest-cost change you can make to any room's feel and perceived size.
- Lighting placement and bulb color temperature matter more than fixture price for overall atmosphere.
- Mirrors multiply natural light and create depth without requiring structural changes or major spending.
- These three tools compound each other — using all three together delivers results far beyond any single change.
- Renters can apply most of these strategies without violating typical lease terms.
- Planning before purchasing prevents the costly mistakes that turn budget upgrades into expensive do-overs.
Why These Three Tools Work So Well Together
Interior designers rely on a short list of high-leverage moves that cost relatively little but shift how a space looks and feels dramatically. Paint, lighting, and mirrors sit at the top of that list — not because they're trendy, but because they work on the fundamentals: color perception, light distribution, and spatial depth. Used separately, each one makes a noticeable difference. Used together thoughtfully, they can make a cramped apartment feel considered and a dated room feel renewed.
This matters for budget-conscious households because the alternative — new furniture, structural changes, or full renovations — costs far more and doesn't always deliver proportional results. Before investing in anything large, it's worth understanding what these three tools can do on their own. For a broader framework on making your home more comfortable without heavy spending, see this end-to-end guide.
Paint: Color Does the Heavy Lifting
A single coat of paint is the most cost-effective change most rooms can get. The impact isn't just aesthetic — color directly affects how large, warm, or calm a room feels. Lighter values (pale whites, soft greiges, muted sage) reflect more light and make walls appear to recede, which is useful in smaller rooms. Deeper tones absorb light and bring walls inward, creating a cozier, more defined feel in large or oddly shaped spaces.
A few practical considerations worth knowing:
- Finish matters. Flat and matte finishes minimize surface imperfections but are harder to clean. Eggshell or satin are often the most practical choice for living areas and bedrooms. Semi-gloss works well for trim, doors, and kitchens.
- Test before committing. Paint large swatches directly on the wall and observe them at different times of day. Colors shift significantly under morning sun versus evening artificial light.
- One accent wall can substitute for a full repaint. A single bold or contrasting wall adds depth and personality without requiring you to repaint the entire room.
Renters should review their lease before painting — many landlords allow it with written approval, especially if you agree to return walls to neutral before moving out.
Paint shifts how large, warm, or calm a room feels — often more than any furniture change.
Lighting: Placement and Temperature Over Price
Most rooms rely on a single overhead light source, which is the least flattering way to illuminate a space. It flattens surfaces, creates harsh shadows, and makes rooms feel institutional rather than comfortable. Layering light — combining overhead, task, and ambient sources — is what professional designers do, and it doesn't require expensive fixtures to achieve.
The key variables are placement and color temperature:
- Color temperature is measured in Kelvins. Bulbs in the 2700K–3000K range produce a warm, yellowish tone that flatters most interiors and creates a relaxed atmosphere. Bulbs above 4000K produce cooler, bluer light that works well in workspaces but can feel clinical in living areas.
- Layer your sources. A floor lamp in a corner, a table lamp on a side table, and a dimmer on the overhead fixture give you control over mood without renovating. Dimmers are inexpensive and make a substantial difference.
- Position matters. Light aimed upward (uplighting) makes ceilings feel higher. Light at eye level creates warmth. Under-cabinet or shelf lighting adds depth and visual interest.
For a deeper look at how natural and artificial light interact in interiors, this guide on natural vs. artificial light covers color perception, mood, and energy use in useful detail.
Layering multiple light sources at different heights transforms a flat room into a warm, livable space.
Mirrors: Borrowed Light and Borrowed Space
A well-placed mirror does two things simultaneously: it reflects light deeper into the room and creates the visual impression of more space. Neither effect requires a large or expensive mirror — placement does most of the work.
Effective mirror placement follows a few straightforward principles:
- Reflect a light source, not a wall. Position mirrors so they catch window light or a lamp, not blank surfaces. A mirror facing a window essentially doubles the apparent brightness of that light source.
- Use height strategically. A mirror hung slightly above eye level draws the eye upward, making ceilings appear taller. Leaning a large mirror against a wall on the floor creates a similar elongating effect.
- Groupings of smaller mirrors can work as well as a single large one, and often cost less. A loose arrangement of varied frames adds texture while still functioning as a light reflector.
- Avoid reflecting clutter. Before hanging a mirror, stand where it will be and look at what it will actually show. A mirror opposite a messy hallway or overloaded shelf amplifies the disorder rather than the space.
Mirrors also work well in coordination with furniture arrangement — these furniture placement principles explain how to open up floor plans in ways that mirrors can then enhance.
A mirror facing a window essentially doubles the apparent brightness of natural light in the room.
Getting the Most From the Combination
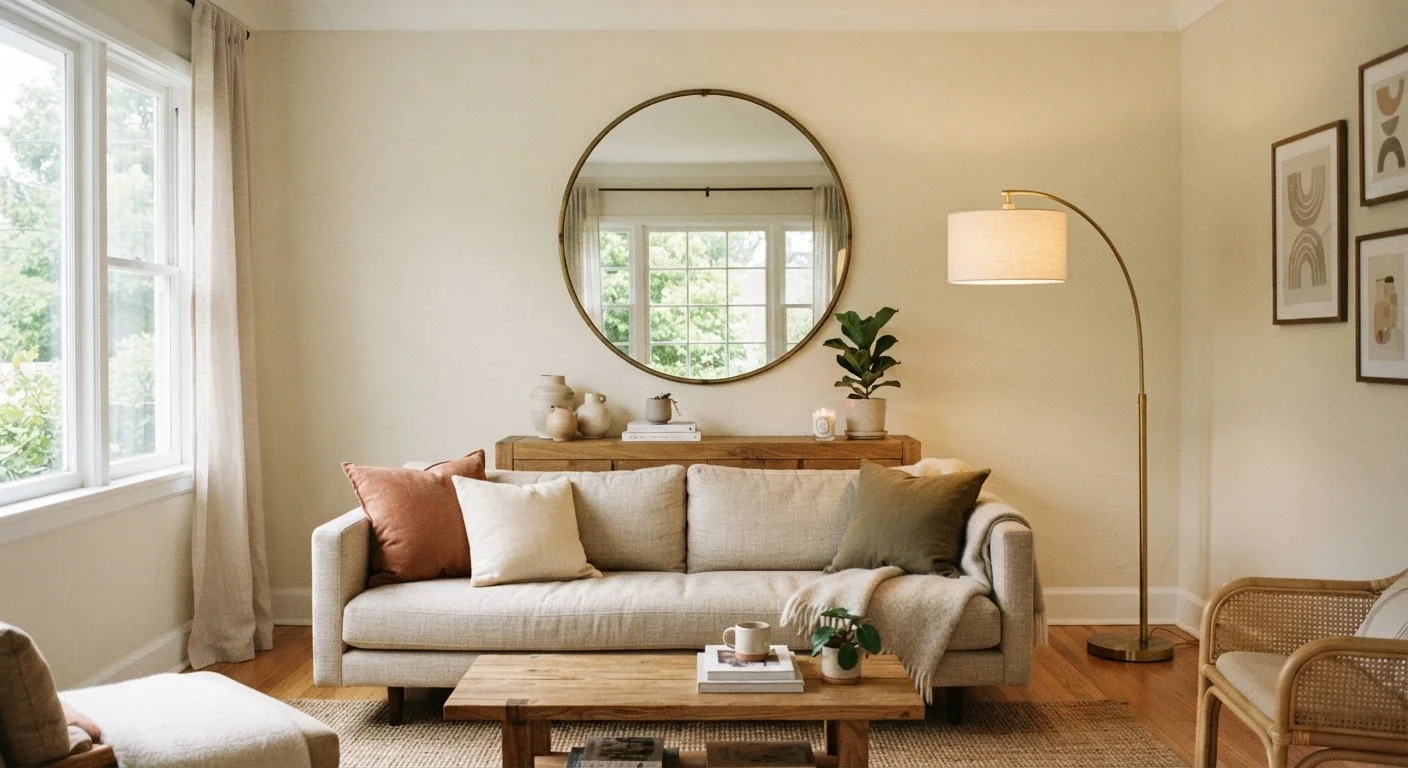
The real payoff comes when you treat these three as a system rather than isolated upgrades. A well-chosen wall color will look flat under the wrong light. A mirror positioned poorly reflects clutter instead of space. But when paint sets the base tone, mirrors are placed to catch both natural and artificial light, and bulb temperature complements the wall color, the cumulative effect is striking — and achievable on almost any budget.
Test Before You Commit
Before buying a mirror, hold up a piece of cardboard or a framed print in the intended position to see what it will actually reflect. Before finalizing a paint color, live with a large swatch through a full day — morning, afternoon, and evening light will all show you something different. Small tests like these prevent the kinds of mistakes that turn budget projects into expensive corrections.
Before committing to any of these changes, it helps to think through sequencing. Paint first — since it sets the tone everything else responds to. Then address lighting, since you need to see the painted room under real conditions. Mirrors come last, placed to maximize what the updated light and color are already doing. And if you're weighing a more complex DIY project alongside these, this article on when DIY costs more than it saves is worth a read before you start.